
When I was making the transition from a vegetarian to more plant strong vegan diet - cow milk was one of the first (and most easily) things that I eliminated from my diet. Ya'll should know that I don't really like to preach but milk squeezed from some artificially inseminated cow who had her baby calf taken from her, but is then given who know what hormones and drugs to keep her lactating for as long as possible - so that I can enjoy a splash in my morning coffee?? Yes, strangly I had a very easy time giving up this morning ritual in place for one of the many yummy alternatives available.
Over the last few years I have tried several types of milk alternatives. Soy, coconut and almond remain my favourites. Recently I learned that some of the stabilizers added to these milk alternatives can irritate the tummy. If you drink the regular dairy products don't relax yet- you are included in the stabilizer party.
Carrageenan is extracted from red seaweed (sounds harmless enough) and is used in many dairy and milk products as a stabilizer and thickener. Unfortunately, studies dating all the way back to the 1960's have shown carrageenan to be linked to gastrointestinal diseases. As someone who suffers from a 'sensitive belly' I am always on the look out for food additives that may be adding to my problem.
The long and short of it......I doubt there is any reason to run in a panic around your home throwing away everything that contains carrageenan. However, next time you are shopping for dairy products or dairy alternatives, maybe compare ingredient lists of various brands and select those that do not use carrageenan.
For more information on foods that contain carrageenan follow this link.
One sure fire way to know exactly what is going into your milk.... make it at home! I avoided doing this forever because I thought it would be difficult and messy. I was wrong. This is really easy - fun even. AND it is the best tasting milk I have ever had.
The best part is you can completely adjust the ingredients and ratio to water to suit your preferances. I will give you my base recipe - but remember to adapt it to your tastes. Thus far I have only played with using almonds and coconut to make my milk. My favorite is actually to do a blend of 50/50 coconut and almond. The pictures below just show a coconut version. I also doubled the below recipe because I know how quickly I can slurp this stuff down :).
Homemade Nut Milk
Ingredients:
1 cup unsweetened coconut shreds (or almonds - soaked and rinsed for at least one hour prior)
3 1/2 cups filtered warm water (can use more or less to adjust thickness of milk)
Optional Add-ins
1tsp vanilla extract OR 1 vanilla bean scraped
1 tsp cinnamon
small pinch of salt
sweetener or choice - agave, maple syrup, stevia, dates etc- to taste
Directions:
Combine all ingredients in blender and blend on high for several minutes. While blending, gently place cheese cloth in a strainer and position over a bowl (see photo below).
Slowly pour blended mixture into strainer and let sit for a few minutes (I normally clean-up the kitchen while my milk strains aways). Wash your hands! Gently lift the edges of your cheese cloth and 'hand milk' the remaining pulp. This is the fun part so do not skip- you will be leaving a lot of yummy milk in the cloth if you do!
Milk will be warm but you can do a taste test here to see if you would like more sweetener or flavors.
Ready for the step by step photos??

It's go time!

The turbo speed is a little intense!
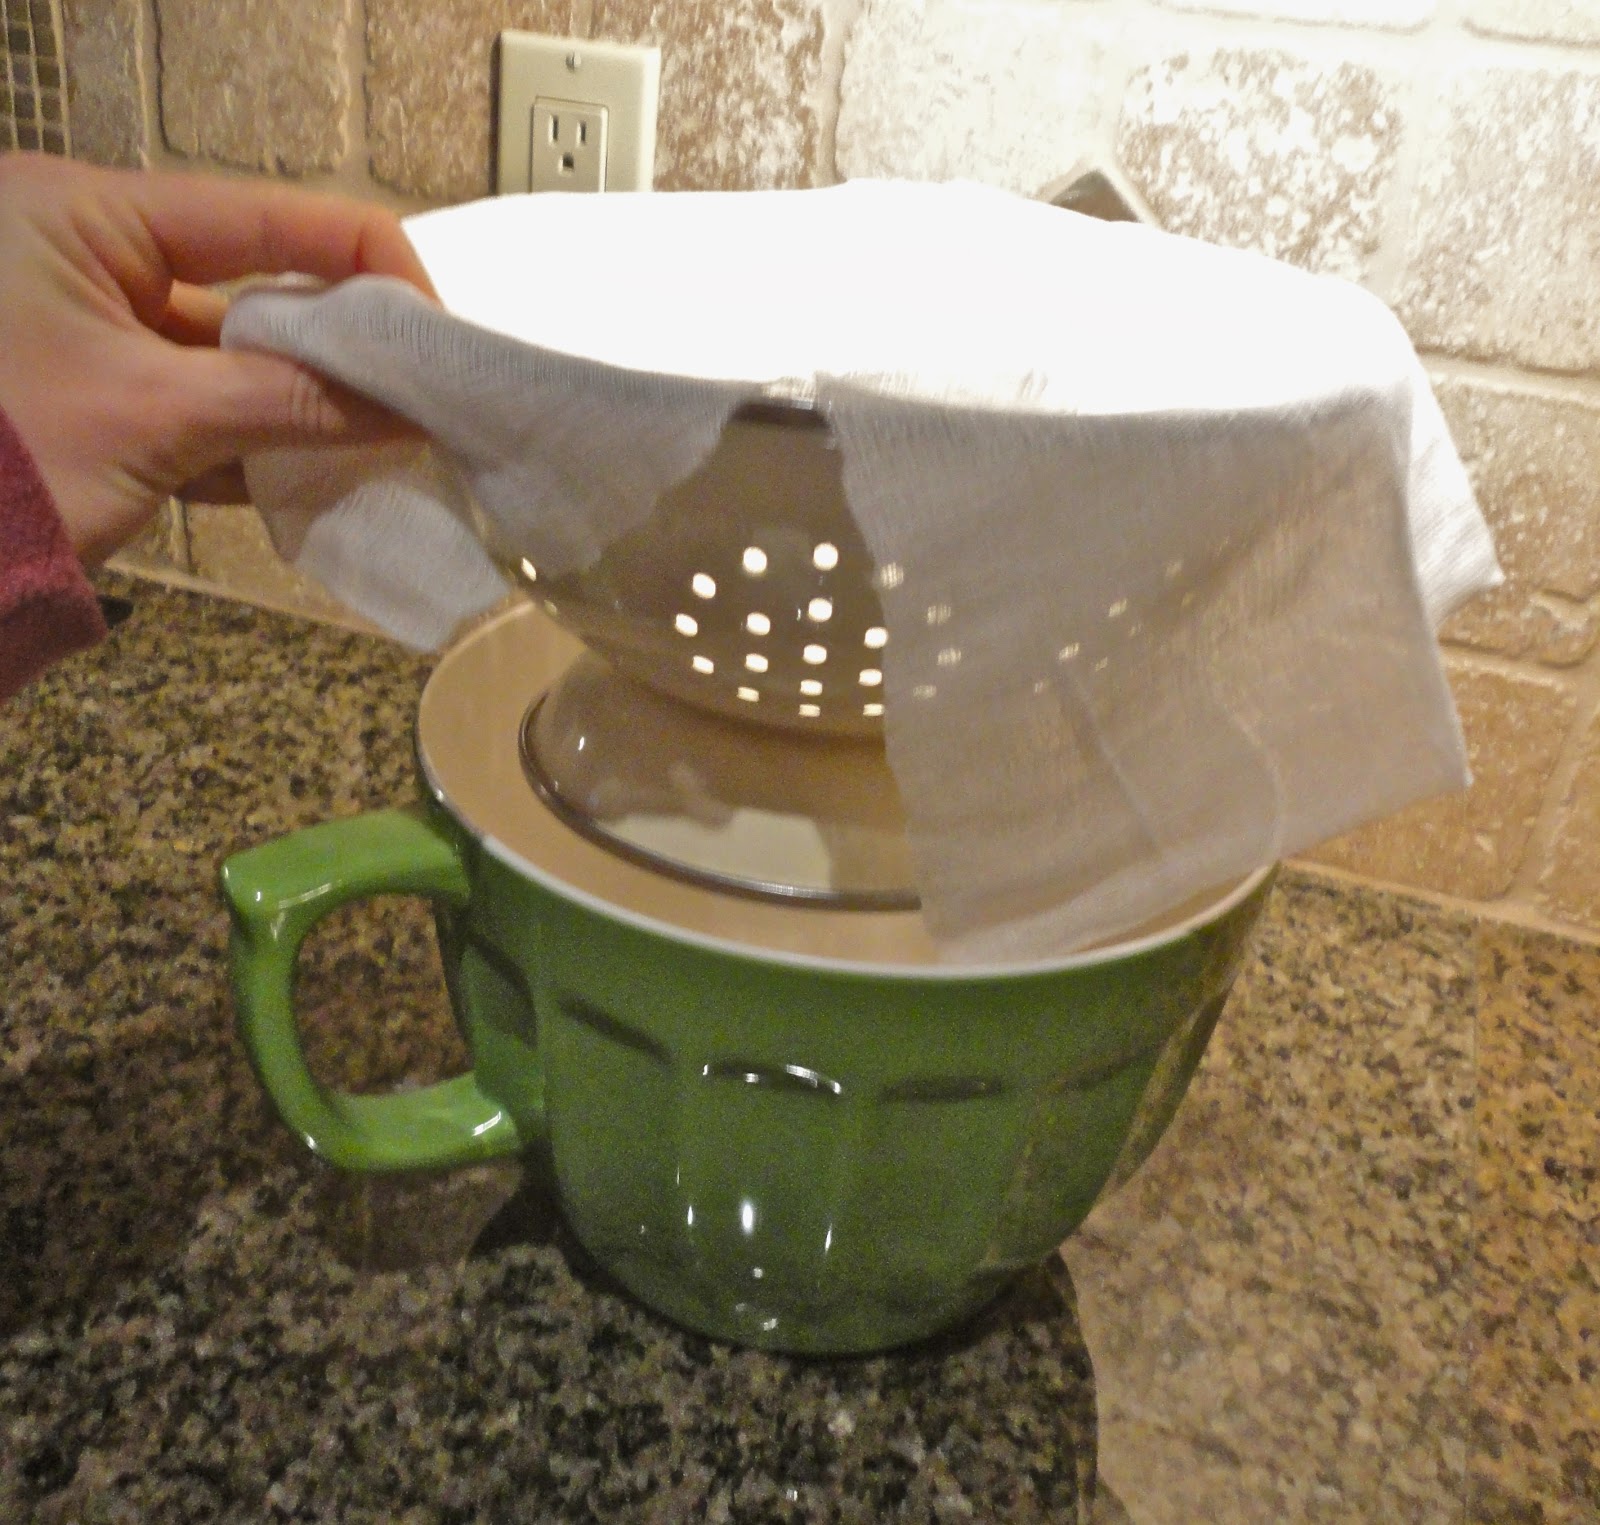
All ready with my cheesecloth, strainer, bowl trio!

Mmmm, so creamy!

Squeezing the bag. If your mind is going to funny places, you are not alone....

Silky smooth coconut milk. Tastes even better if you let it get cold! If your bowl does not have a pour spout, I highly recommend pouring the bowl of milk back into the blender before trying to pour into a mason jar or other container.

Got Milk?